Usage
In this page will go over basic rematch usage and functionality. We’ll start with the server (which is currenly limited in it’s direct usability) and move on to the IDA plugin, where users will spend most of thier time.
Server
The rematch server is built on top of the Django Framework, which has it’s own built-in administration panel. The administation panel functionality Django exposes makes it trivial to manage database objects through the admin panel, granting admin users full control over the server. While Remach doesn’t have its own web interface, it’s common to use the admin panel to manage users and perform other tasks not currently available throught the rematch project.
Django’s admin panel can be used for fine-grained control over most database objects (Such as Vectors and Annotations) through the rematch server, but it’s main functionality is managing users, projects and files.
the admin panel is available at https://SERVER_URL/admin/. Once logged in, you’ll see the lists of database objects divided to categories. Selecting the “Users” object will show you a list of all registered users anda set of filters to filter by. You could edit, delete and create users which will then be able to login using the IDA plugin. Similarly, you can manage Projects, Files and any other object stored on the server.
IDA Plugin
The IDA plugin is the interface to the rematch server. Most of the interaction a user has with rematch will actually be through the clients, dispatching work and uploading data to the server.
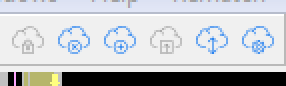
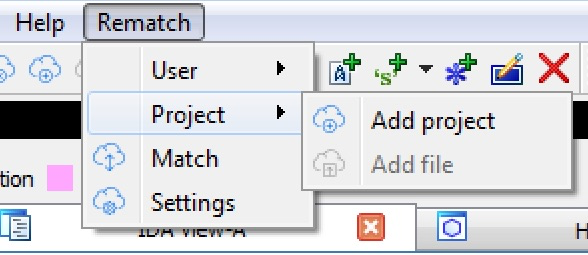
Toolbar and Menu
All rematch IDA plugin functionality is exposed through a set of toolbar and menu. Both have exactly the same functions and could be used interchangeably.
Login
Before uploading a file, starting a matching task or creating a project, a user must log in. If you do not have a user account on a rematch server, you’ll need to contact the nearest rematch server admin, or set up your own rematch server.
By clicking the “Login” command in the rematch toolbar or menu, the following dialog box will appear:
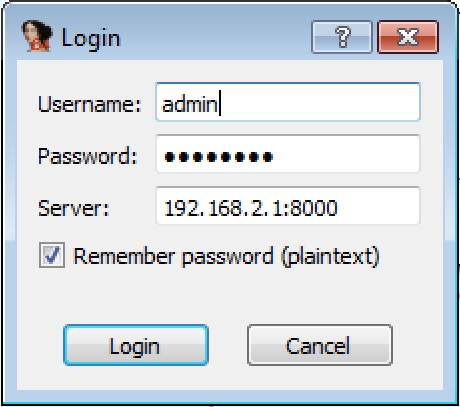
Into which you’ll need to specify the server address, your username and it’s password. You can optionally mark the “remember this password” checkbox to store the password for future logins. To login click the “Login” button and the login dialog will be closed.
Warning
Passwords are stored in plaintext, so make sure to only mark this checkbox on machines you trust. Rematch also supports token based login, and after a successful login a token will be stored automatically (unless diabled from the configuration dialog). For that reason, it is not requried to store login details in most circumstances.
Upon a successful login you’ll be able to create projects, add files, request matches, etc.
Projects, Files and Binding
Todo
Fill up the rest of idaplugin functionality
As discussed in detail on the Architecture page, Files can be created under Projects.